Category: beauty

6 Ways to Look Cute While Working Out

While it’s no secret that what you wear can affect your confidence, we still seem to throw that knowledge out the window when it comes to our workout attire. After all, how many times have you worn a pair of ratty sweats or an oversized T-shirt to the gym? What about those embarrassingly sheer leggings that finally revealed to your whole yoga class which side of the “thong vs. no thong” debate you landed on? When it comes down to it, the act of exercise itself isn’t always pretty (burpees, we’re looking at you!). But that doesn’t mean we need to subject ourselves to some ugly duckling wardrobe while nurturing that beautiful swan within. Read on for six easy ways you can look cute while working out and burn those calories in style!

Yes, You Can Flatter Your Figure

Much like your everyday wardrobe, you want your workout clothes to fit your body. When shopping for athleticwear, opt for clothes that comfortably flatter your figure while offering a little bit of give with every stretch. Avoid clothes that are too tight in any one spot as this could seriously hinder your workout–and possibly cause a wardrobe malfunction (yikes!). If you feel the urge to pull or tug at any part of your outfit, then put it in the “no” pile. Exercise is hard enough without the added stress of feeling self-conscious about your clothes. And, while you may feel tempted to wear big and baggy clothing while huffing and puffing on a treadmill, outfits that are too loose can cause chafing and discomfort as well. Keep your gym wardrobe simple and trade in those ratty college sweatshirts for some cute and trendy hoodies instead. Remember to wear a workout tee or tank top underneath for when things get too hot to handle.

Keep the Sweat in Check
 

6 Ways to Look Cute While Working Out
Source: Jacob Lund/shutterstock.com

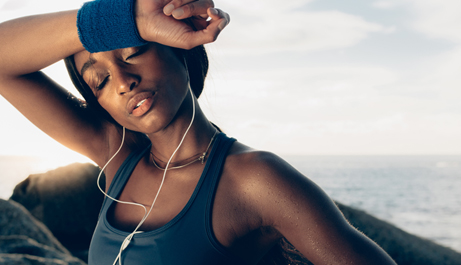
Nothing beats the satisfaction you get from a super intense workout. What’s less satisfying, however, is trying to enjoy a post-workout smoothie while sitting in stinky, sweaty clothes. Whether you live to exercise or simply tolerate it in order to have that extra weekend mimosa, moisture-wicking workout gear is something you need in your life. Workout clothes made from high-tech synthetic fibers, like polyester and nylon, pull the moisture (read sweat) from your skin to the surface, allowing it to evaporate quicker than cotton. It also helps to regulate your body temperature, unlike cotton tees that can leave you feeling chilly during cooldown. Plus, breathable, moisture-wicking athleticwear takes care of that unflattering “wet” look that happens during exercise. Hey, anything to eliminate that underboob sweat look, right, ladies?!

Treat Yourself to Some Fancy (and Functional) Footwear

6 Ways to Look Cute While Working Out
Source: misfire_studio/shutterstock.com

Step up your next workout with a new pair of cute sneakers. Not only will some stylish sneaks help you feel a little extra snazzy for that 6 a.m. workout, but they’ll also help you deliver on a truly successful (and safe) workout. After all, not all sneakers are created equal. In other words, the shoe you use for trail running isn’t necessarily the best choice for an intense HIIT workout in your living room. Do a little research on the right shoe for your workout style and your body will thank you for it. You’ll want to consider things like exercise preference, comfort level, tread and sole cushioning, just to name a few. Then, of course, you can consider the aesthetics. If you have a hard time getting motivated, consider a shoe with bright colors to keep you smiling through the pain. Yeah, we hear it. But no pain, no gain. Right, ladies?

A Little Makeup Goes a Long Way

If you tend to get a little red-in-the-face during your workouts, then you might want to think about adding a tinted moisturizer or mineral foundation to your workout look. Of course, the last thing you want to do is pile on the oily makeup only to sweat it off moments later. The beauty of mineral makeup is that a little goes a long way and significantly reduces shine while offering coverage. Plus, it doesn’t block pores, reducing your post-exercise breakout possibilities. Couple your base with a little tinted lip balm and some waterproof mascara for a natural look you’ll love. Not to mention, one that won’t come off on your towel at the end of your workout.

Wear Your Hair Up

We get it. You’re proud of your hair. With all of the love and attention you give it, you deserve to have it look its best at all times. That’s why we’re asking you–nay, begging you–to wear your hair up when you work out. Letting your hair get all sweaty during a workout can lead to a flaky scalp and clogged follicles. Not to mention the frizz. Incorporate an updo into your workout look to keep your hair looking healthy and fresh. Avoiding tight ponytails and damaging hair elastics are a good idea, too. Opt for forgiving hair accessories that don’t snag your tresses like fabric hair ties or scrunchies. Mixing up the hairstyles you wear on a daily basis can also help save your locks from breakage and frizz. Swap a top knot for a braid on occasion or even a side ponytail from time to time. Essentially, not pulling your hair back in the exact same spot every day will save you the headache of expensive products and hair repair down the line.

Keep It Colorful

6 Ways to Look Cute While Working Out
Source: Goran Bogicevic/Shutterstock.com

Dress for a successful workout by incorporating fun, vibrant colors into your exercise attire. Try pairing a cute pastel top with black leggings or a neon sports bra with grey joggers for a subtle pop of color that will keep you motivated when the going gets tough. Wearing colors that you love can give you the confidence boost you need to do hard things (squats included). And really, when you think about it, exercise is all about realizing our best selves. So if your clothes can help get you there, don’t you think they’re worth the investment?

How To Trim Your Hair Like A Pro

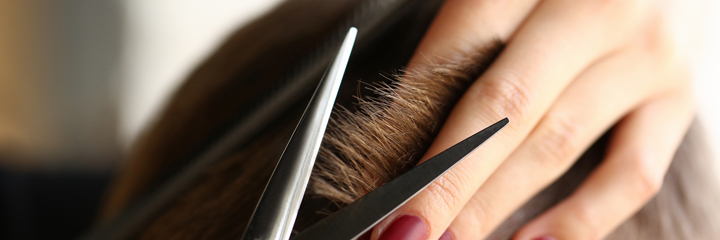
How To Trim Your Hair Like A ProCan’t go to the salon and have a haircut?  Well, don’t fret because you can trim your hair at home. Even if you’re unsure how to do it, you can do so with a little practice and more knowledge. If you want to have a trim that looks professional, then read on.

Here are some tips on how to trim your hair like a pro:

  1. Use The Right Tools

You may think that any scissors will do, but that’s not the case. Don’t use kitchen scissors or scissors that aren’t sharp enough. They’ll only make crooked lines, which may be hard to fix, and you may end up with frayed and sloppy ends. But, with sharp shears, you can easily make clean edges and lines.

Aside from scissors, you must also use a wide-toothed combed as it can help when trimming your bangs. This can keep your strands in place while cutting your hair. Also, have clips or scrunchies to make sections easily.

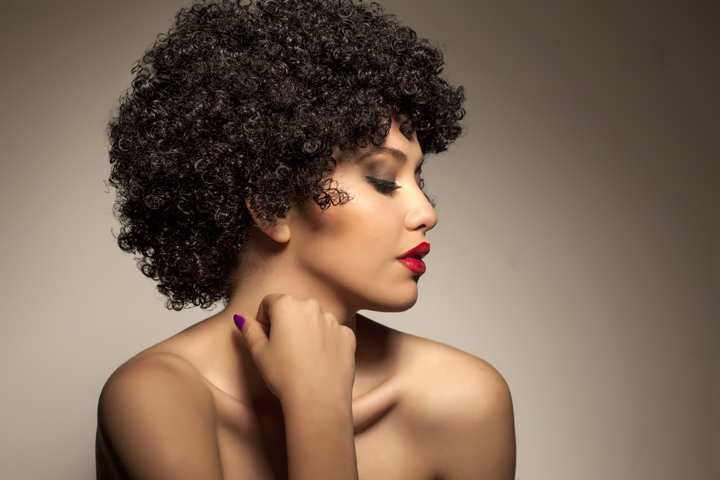
For curly hair, you may want to use a curling hair product like shampoo and conditioner to wash your hair. Then, let it dry before cutting because curly hair is less fluffy and longer when it’s wet.

  1. Smooth Your Hair

After having all your equipment, you should first smooth your hair. As mentioned, you can wash your hair first before drying and smoothing it, especially for curly hair. You can cut it moisturized or dry.

Working with moisturized, damp hair allows you to get a clean cut. Moisturizers can help avoid split ends and breakage when your hair is being cut. Also, damp hair allows your hair to be smoothed easily. If you prefer dry hair, then get it tangle-free so you can control your hair quickly.

  1. Create A Guide

To avoid risking a major mishap, which can lead to a drastic haircut, you must have a guide. Do this by making sections and trimming hair little by little. Avoid immediately cutting to the length you want to trim, but work your way up by starting in small increments. If you cut too much, you can’t go back and repair it. But if you trim small, you can always cut more hair.

You may also want to start at the very front in small sections, like one or two inches when spread between your fingers. Doing this will guide you because you’ll know where your hair lands. Using clips will help you with this because it can help hold any stray sections.

How To Trim Your Hair Like A Pro
4. Time To Cut

Depending on your hair type, you can follow these techniques:

  • Straight Hair: Hold scissors horizontally to get a sharp, clean line by trimming the ends of your hair. As mentioned, cut in small sections.
  • Wavy Hair: If you have long layers, brush your hair up, then trim them carefully. Similar to straight hair, trim the ends of your wavy hair only and avoid holding each section too tight.
  • Curly Hair: You may want to use a tri-fold mirror when cutting curls. For square shapes, side to side and top to bottom may be the best. For triangular shapes, hold the hair towards the back of your head when cutting. On the other hand, you should hold round shapes forward before cutting them.

Conclusion

Cutting your hair at home is quite hard at first. However, you can get through this if you’ve read the guide above. You might even make it look like a professional cut that can complement your fashion look without spending too much. That’s why you must use the right shears, then smooth your hair before starting to trim. Also, doing sections will help you cut your hair more easily.

Wedding Day Ready: 10 Items for Your Bridesmaid Emergency Kit

Wedding Day Ready: 10 Items for Your Bridesmaid Emergency Kit
Source: Jacob Lund/Shutterstock.com

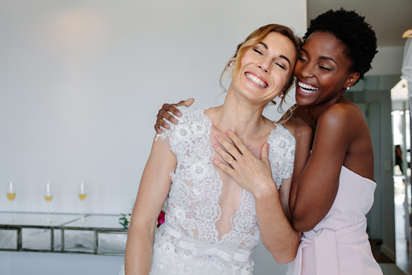
Your dearest friend or relative has asked you to be a bridesmaid. And now, you’re in the midst of helping to coordinate a tediously scheduled event, complete with matching bridesmaids’ ensembles, planned bridal showers and a bachelorette party. However, more importantly, a bridesmaid is there to keep the bride calm and collected on her big day. A wedding day stirs up lots of emotions, which can trigger accidents and send the bride into a worry or even a bridezilla-like frenzy.

Luckily, there are many ways to solve unexpected problems that arise while also supporting her and the other bridesmaids as well. And one of these helpful ways is packing a bridesmaid emergency kit. Think of it as a survival kit, but with dress-saving and cosmetic-preserving items that are as handy as a multi-tool Swiss Army knife. Ready to impress the bride and fellow maids as a first-time bridesmaid? While there are many convenient everyday items you pack in a purse that come to mind, there are probably some things you haven’t even considered. Here are 10 items you need to pack in your bridesmaid emergency kit.

1. Teeth Whitening Pen

Before you help the bride on her big day, invest in an at-home teeth whitening kit to get sparkling teeth that will look good in group photos. However, once you set off for a destination wedding or to the local chapel, you’ll need a more compact option. A better on-the-go alternative is a teeth whitening pen, designed to fit directly in a small handbag or even in a pocket. Apply the whitening serum before photos and keep wine and coffee from staining during rehearsal dinner and beyond! Small stain eraser tins are also the perfect size to fit into small clutches.

2. Band-Aids

Wedding Day Ready: 10 Items for Your Bridesmaid Emergency Kit
Source: ARIMAG/Shutterstock.com

Brides ask a lot of their bridesmaids. From wearing coordinated dresses to taking on wedding day tasks, we want to support our best friend or family member so their day goes without a hitch. And heels are just one of these requests and ways to show support (even if the shoe doesn’t).

While they make your outfit look cute, heels can be a real pain, especially after a day of trailing the bride and a night of dancing. So do yourself and other bridesmaids a favor and carry some band-aids and blister protection spray to keep the party going. No bridesmaid wishes to wind up with a blister and hop around or lay low the rest of the wedding.

3. Spray-On Deodorant

Unlike the roll-on or stick variety, spray-on deodorant prevents smudges on dresses. It may also prevent smudges on guests’ dresses as you give a big hug. But aside from visible oopsie-daisies, spray-on deodorant is also a more sanitary option when you need to pass it around. In summer or winter weddings, you’re going to break a sweat, so be sure to pack your bridesmaid emergency kit with spray-on deodorant.

4. Baby Powder

Baby powder is another essential to carry in your bridesmaid emergency kit. Baby powder has many uses, but when it comes to wedding days in particular, it can be a lifesaver. It can keep your armpits and feet feeling dry and fresh. It can also remove grease stains and make your hair appear less oily.

5. Snacks

On the wedding day, your goal is to accompany the bride. And trust us when we say, you’ll be so busy that you may forget to eat! Instead of getting hungry or starting a post-nuptial cocktail hour on an empty stomach, be sure to pack snacks to give you and other bridesmaids the energy boost you need. Stick with protein bars and some nuts to hold yourself over until the hors d’oeuvres are passed around.

6. Vitamin C Boost

Since stress weakens the immune system, add a pack or two of Vitamin C-packed boosters you can sprinkle in a glass of water. It will make you feel 100 percent better tomorrow and the next day, even after a long night of celebrations.

7. Safety Pins and Fashion Tape

Safety pins and fashion tape take up so little room in a bridesmaid emergency kit that you’d be a fool not to bring them! Unexpected rips or tears in garments – from bras to gowns – can ruin an ensemble. Instead of being caught empty-handed, you can use these to make small alterations. Double-sided fashion tape can even help support the girls, avoiding a wardrobe malfunction.

8. Stain Remover Stick

As convenient as a teeth whitening pen, a stain remover stick is excellent for touching up clothes. If you drop something on a dress, simply apply the stain remover and you’ll be good as new.

9. Straws

Wedding Day Ready: 10 Items for Your Bridesmaid Emergency Kit
Source: g_dasha/Shutterstock.com

Professional makeup will have the entire bride tribe looking their best. But when it comes to lipstick, you can keep it protected and on your lips longer with a straw. Pack a reusable straw that you can use all day and night to ensure your carefully applied lipstick doesn’t smear on cups or glasses as you stay hydrated throughout the day.

10. Phone Chargers

Phone chargers are one of those necessary items you might need in your bridesmaid emergency kit. Between helping the bride coordinate with vendors to snapping selfies for memories, your phone’s battery is sure to fade. And when it does, you’ll need to recharge so you can continue the celebrations.

A Handy Bridesmaid Emergency Kit

Think beyond the list above and you’ll come up with many other items. A comb and bobby pins are always useful. Lotion can keep your skin looking silky smooth. More than likely, you’ll have some of the basics already, but start accumulating items for your bridesmaid emergency kit early on and adding to it as you think of new things. Whether you choose to store these items in a fanny pack or tote bag is entirely up to you, so long as it’s glued to your side the entire wedding day.

That way, you’ll be the most prepared bridesmaid, ready to handle the unexpected and save the bride’s big day.

How to Choose the Right Wig to Complete Your Look

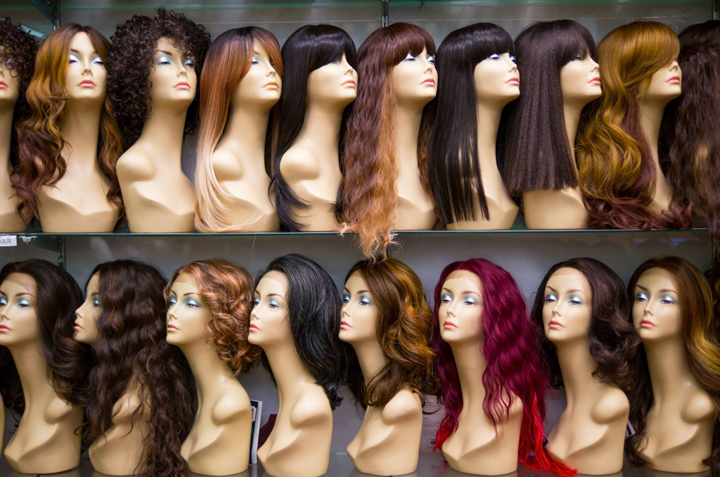
How to Choose the Right Wig to Complete Your LookWigs are fashionable, stylish, and convenient. However, there is an art to choosing the right wig to complete your look. Randomly picking a wig without taking into consideration certain factors may result in disappointment, discomfort, and a blow to your confidence.

To ensure the perfect fit, here are some great tips on how to choose the right wig to complete your look.

  1. Measure Wig Size

A wig needs to fit comfortably, but shouldn’t be too snug. If a wig is too tight you can experience a headache, or part of your natural hair may be visible. If the wig is too loose, it can fall off and may not appear natural when worn. You need to measure the circumference of your head before you purchase a quality wig from reliable and high-quality providers such as Keswigs.

To get the right size, you must measure from your hairline, behind your ear, neck and your other ear then back to your frontline. This measurement will guide you in purchasing the right wig size and avoid issues caused by incorrect sizes.

  1. Pick A Natural Color

If you’re new to wearing a wig, it’s advisable that you first get comfortable with wearing one before exploring different colors. You can get a wig that’s closest to your hair color. Once you’re more confident about wearing one, you can then explore other colors that express your personal style. You can start by purchasing 2 or 3 different colors to see which one you’re most comfortable with.

  1. Consider Your Outfit

Your outfits may sometimes determine the type of wig that you purchase. For instance, if your outfits are mostly made from cotton material, you might not want to purchase wig braids that are burnt at the end of the braids. The burnt braid ends catch on the material and the constant friction can tear at the material. This means that your wig will have cotton particles and appear less appealing and worn out.

  1. Consider The Occasion

The type of wig that you wear should complement the setting, event, or occasion that you’re attending. For example, if you work in a corporate setting, a bright pink wig might be the best choice. However, if you’re an artist at an agency, this may be acceptable. The dress code will determine the type of wig that will complete your look in that context.

How to Choose the Right Wig to Complete Your Look

  1. Think About The Weather

If you live in areas where temperatures sky-rocket during the summer months, your general wardrobe is determined by the weather. This is also true for your wig. If you wear a long and bulky wig in soaring temperatures, you’ll be tempted to remove it during the day. You may sweat profusely and need to freely scratch your scalp without the hindrance of the wig. You may also be tempted to tie the wig up so that it’s away from your shoulders and neck for fresh air. However, not all wigs are designed to be tied up in a bun. Trying to do so may compromise the look and texture of your wig.

  1. Choose Between Synthetic Or Human Hair

When choosing your wig, you should consider whether you can maintain human hair if you’re going for the natural look. Maintaining wig made from human hair means regularly moisturizing it, straightening or curling, misting, and washing regularly. The advantage of human hair is that it has a long shelf-life, if maintained properly.

A synthetic wig also requires maintenance such as brushing and combing to remove dust and foreign particles. Synthetic hair, however, can’t have withstand heat as it will burn. It also can’t be washed as thoroughly and regularly as a wig made of human hair. These are some of the factors you will need to consider when choosing the right wig to complete your look.

  1. Your Preferences

Just like hairstyles, some types of wigs suit specific face shapes and body sizes than others. However, you don’t need to be restricted by these arbitrary rules. There’s nothing wrong with choosing and wearing a wig that suits your preferences. Try on different types of wigs until you find one that makes you feel confident and comfortable. Remember, what may look right on one person might not be best choice for another.

Conclusion

Choosing the right wig requires trying out different options until you find the one best suits your needs. Make sure that you’re purchasing wigs that fit your head comfortably. A great starting point is to choose wig colors that resemble your natural hair, and then gradually experiment. You also have to consider your outfit, the setting, weather, type of hair, and your personal preferences. Above all, remember that there is no one size fits all when it comes to fashion.

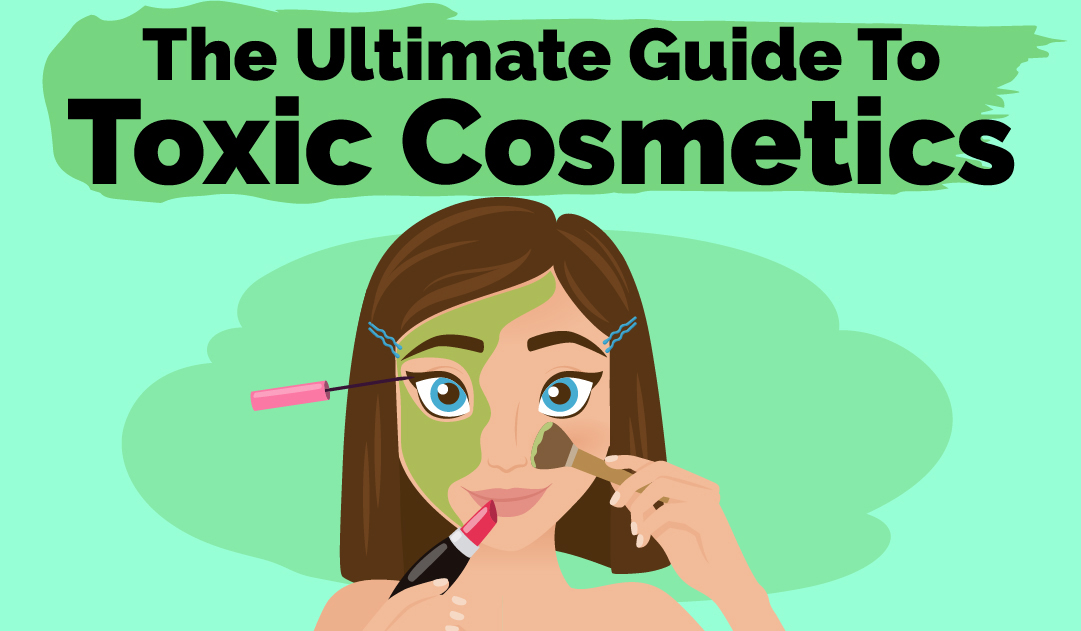
The Ultimate Guide to Toxic Cosmetics

The Ultimate Guide To Toxic CosmeticsThere’s a wealth of information out there about which cosmetics you should be using to get healthy skin but sometimes it’s useful to know what not to put on your skin, so you avoid actively damaging it through a poor skincare routine.  Check out this detailed Ultimate Guide to Toxic Cosmetics which also includes great tips on the best non-toxic makeup brands available today.